
Casting parts is an essential process in many industries, ranging from automotive to aerospace, and even consumer electronics. Whether you’re new to casting or looking to optimize your process, understanding each step is crucial for creating high-quality parts that meet your exact specifications. In this guide, I will walk you through the entire casting process, from the initial design phase to the final product, offering tips, insights, and best practices along the way.
What Is Casting?
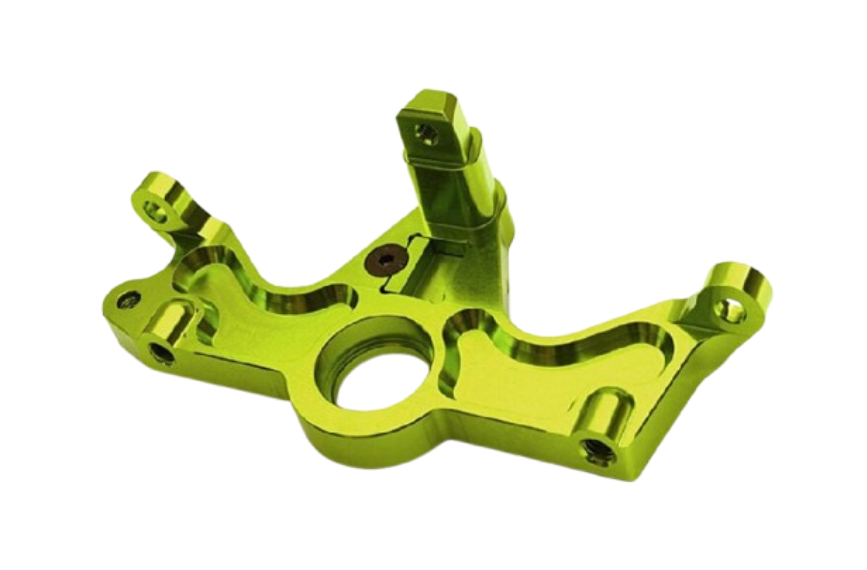
At its core, casting is a process where a material, usually metal, is heated until it melts and then poured into a mold that has the shape of the desired part. Once cooled, the material solidifies into the form of the mold, and the part is removed. Casting can be used to produce complex shapes, often with intricate details, and is a cost-effective method for large-scale production runs.
The primary types of casting processes include:
- Sand Casting: A versatile and widely used method, perfect for both small and large parts.
- Die Casting: Often used for high-volume production, typically in aluminum and zinc alloys.
- Investment Casting: Ideal for high-precision and intricate parts, often used in aerospace and medical applications.
- Shell Mold Casting: A variation of sand casting that uses a ceramic shell for precision parts.
Each of these casting methods offers unique advantages, but the process starts with the same fundamental steps.
Step 1: Design Your Part
The first step in creating a cast part is designing it. This is the phase where you translate your idea into a physical object that can be manufactured. Several factors need to be considered during the design phase, such as:
Material Selection: Different casting materials—like aluminum, brass, steel, or bronze—offer different benefits in terms of strength, weight, and thermal conductivity. Choose a material that aligns with the part’s intended use.
Part Geometry: The shape of the part will dictate the mold design and the casting process. More complex geometries may require specialized casting techniques or post-processing work.
Draft Angles: To remove the part from the mold easily, you need to add draft angles. These are slight inclinations on the walls of the mold that help ease the extraction of the finished part.
Tolerance Requirements: Depending on the application, the tolerances for the part may need to be very tight. Design the part with enough room for slight variations that may occur during the casting process.
During this stage, many engineers rely on CAD (Computer-Aided Design) software to create 3D models of the part. These models allow for precise control over the design and ensure that the final product will meet all functional and aesthetic requirements.
Step 2: Create the Mold
Once the part design is finalized, the next step is to create the mold. Molds are generally made from materials like sand, metal, or ceramic, depending on the casting process you’ve chosen. In general, there are two types of molds used in casting:
Permanent Molds: Made of metal or other durable materials, permanent molds can be reused many times. They’re typically used in die casting or shell mold casting.
Disposable Molds: These are single-use molds made of materials like sand or ceramics. Sand casting, for example, uses disposable molds.
In this phase, the mold is designed to accommodate the part and allow for the pouring of molten metal. The mold must include a system for allowing air to escape (called vents), as well as channels for the molten metal to flow into the mold cavity (called runners).
Step 3: Melt the Metal
Now comes the fun part—melting the metal. The specific temperature required depends on the material being used, and the metal must be heated to a temperature at which it becomes molten but not too hot to cause unwanted chemical changes. Different metals require different types of furnaces:
- Electric Furnaces: Commonly used for metals like aluminum, they are energy-efficient and precise in terms of temperature control.
- Induction Furnaces: These are more common for metals that require very high temperatures, such as steel.
- Crucible Furnaces: Often used for smaller batches or metals like brass.
The molten metal must be carefully monitored for any impurities or inconsistencies that may affect the final product. Any contaminants can weaken the finished part, so it’s important to ensure the material is of the highest quality.
Step 4: Pour the Metal
Once the metal has been properly melted, it is time to pour it into the mold. This is a critical step that requires precise control. The metal should be poured at a steady rate to ensure that it fills the mold completely without creating air pockets or inclusions. The pouring process often involves the use of ladles or automatic pouring machines, depending on the size and scale of the project.
The pouring process must also account for the material’s shrinkage as it cools. Different metals shrink at different rates, so molds are designed with these shrinkage rates in mind to ensure the final part comes out the correct size and shape.
Step 5: Cooling and Solidification
After the molten metal has been poured into the mold, it is left to cool and solidify. This can take anywhere from a few minutes to several hours, depending on the size and material of the part. Cooling must be carefully controlled to avoid internal stresses or defects in the material.
In some cases, the cooling process may be assisted by controlled cooling rates or the use of coolants to speed up solidification. For example, metal parts that require high strength may undergo rapid cooling (quenching) to improve hardness.
Step 6: Removal from the Mold
Once the part has cooled and solidified, it’s time to remove it from the mold. The ease of removal depends on the type of mold used. In sand casting, the mold is usually broken apart to retrieve the part, while in die casting, the mold can simply be opened.
This stage often requires some post-processing work, such as removing excess material, cleaning, and checking for any surface defects.
Step 7: Cleaning and Finishing
After the part is removed from the mold, the next step is cleaning and finishing. This process can involve several techniques, such as:
- Grinding and Polishing: Used to remove any surface irregularities and improve the aesthetic appearance.
- Shot Blasting: A method of cleaning the surface by using high-pressure air to blast small abrasive particles at the part.
- Machining: In some cases, parts need additional shaping or precision machining to achieve the final dimensions and tolerances.
- Heat Treatment: Some parts undergo additional heat treatments to alter their properties, such as improving strength or hardness.
During the finishing stage, quality control is crucial. Parts should be inspected for defects, such as cracks, air bubbles, or misalignment. Non-destructive testing methods like X-ray or ultrasonic testing can also be employed to ensure the integrity of the part.
Step 8: Final Inspection and Delivery
Once the part is fully cleaned and finished, it undergoes final inspection. This is where you confirm that the part meets all design specifications and quality standards. Common methods for inspecting cast parts include:
- Dimensional Inspection: Measuring the part to ensure it falls within the tolerances specified in the design.
- Visual Inspection: Checking for surface defects or cosmetic flaws.
- Destructive Testing: In some cases, parts are tested under stress or pressure to verify that they meet performance requirements.
Once the part passes inspection, it’s ready for delivery to the customer or for assembly into a larger product.
Conclusion
Casting is a versatile and time-tested process that plays a crucial role in the production of a wide range of parts across various industries. By understanding the casting process from design to finished product, you can optimize your designs, select the right materials, and ensure that your parts meet the highest standards of quality and performance.
Whether you’re designing a new part or improving an existing process, remember that each step is interconnected. Pay attention to the details during the design, mold-making, and finishing stages, and you’ll be well on your way to producing high-quality cast parts that meet your exact needs.
If you have questions or need help with your casting projects, feel free to reach out! Happy casting!
